Capturing Motion: Deciding on Shutter Speed
Contents
If you’re like me, you’ve experienced this situation many times: you take a bunch of great pictures during a session, and you’re really happy with your work. But when you look at them more closely when you get home, you find that many are just a little bit too blurry.
This problem is a big caveat to the conventional “machine gun, not sniper rifle” advice—taking more pictures does give you a better chance of catching a good one, but without the proper handle on the technical skills, you’ll just end up filling your card with a bunch of blurry pictures. So, this article goes back to basics to cover an important technical element of photography: shutter speed.
Effects of different shutter speeds
Shutter speed refers to how long the shutter is open to let light hit the camera sensor. Fast shutter speeds freeze motion, while slower shutter speeds introduce blur. At the extreme slow end (around a second or longer), long exposures allow a variety of special effects.
A good rule of thumb is to use a shutter speed of 1/500+ or faster if you want to freeze a moving subject without blur. If lighting conditions allow, 1/1000 or even higher is best. The best settings will vary depending on the subject speed, lighting conditions, and specific camera settings, which I cover below.
Speeds below 1/500 will gradually start introducing more motion blur to a moving subject in the resulting photograph. Once you get below 1/125, it can become noticeable even for slower-moving subjects. At these slower shutter speeds, camera movement also becomes a significant source of blur. If conditions allow, a tripod can help mitigate that issue.
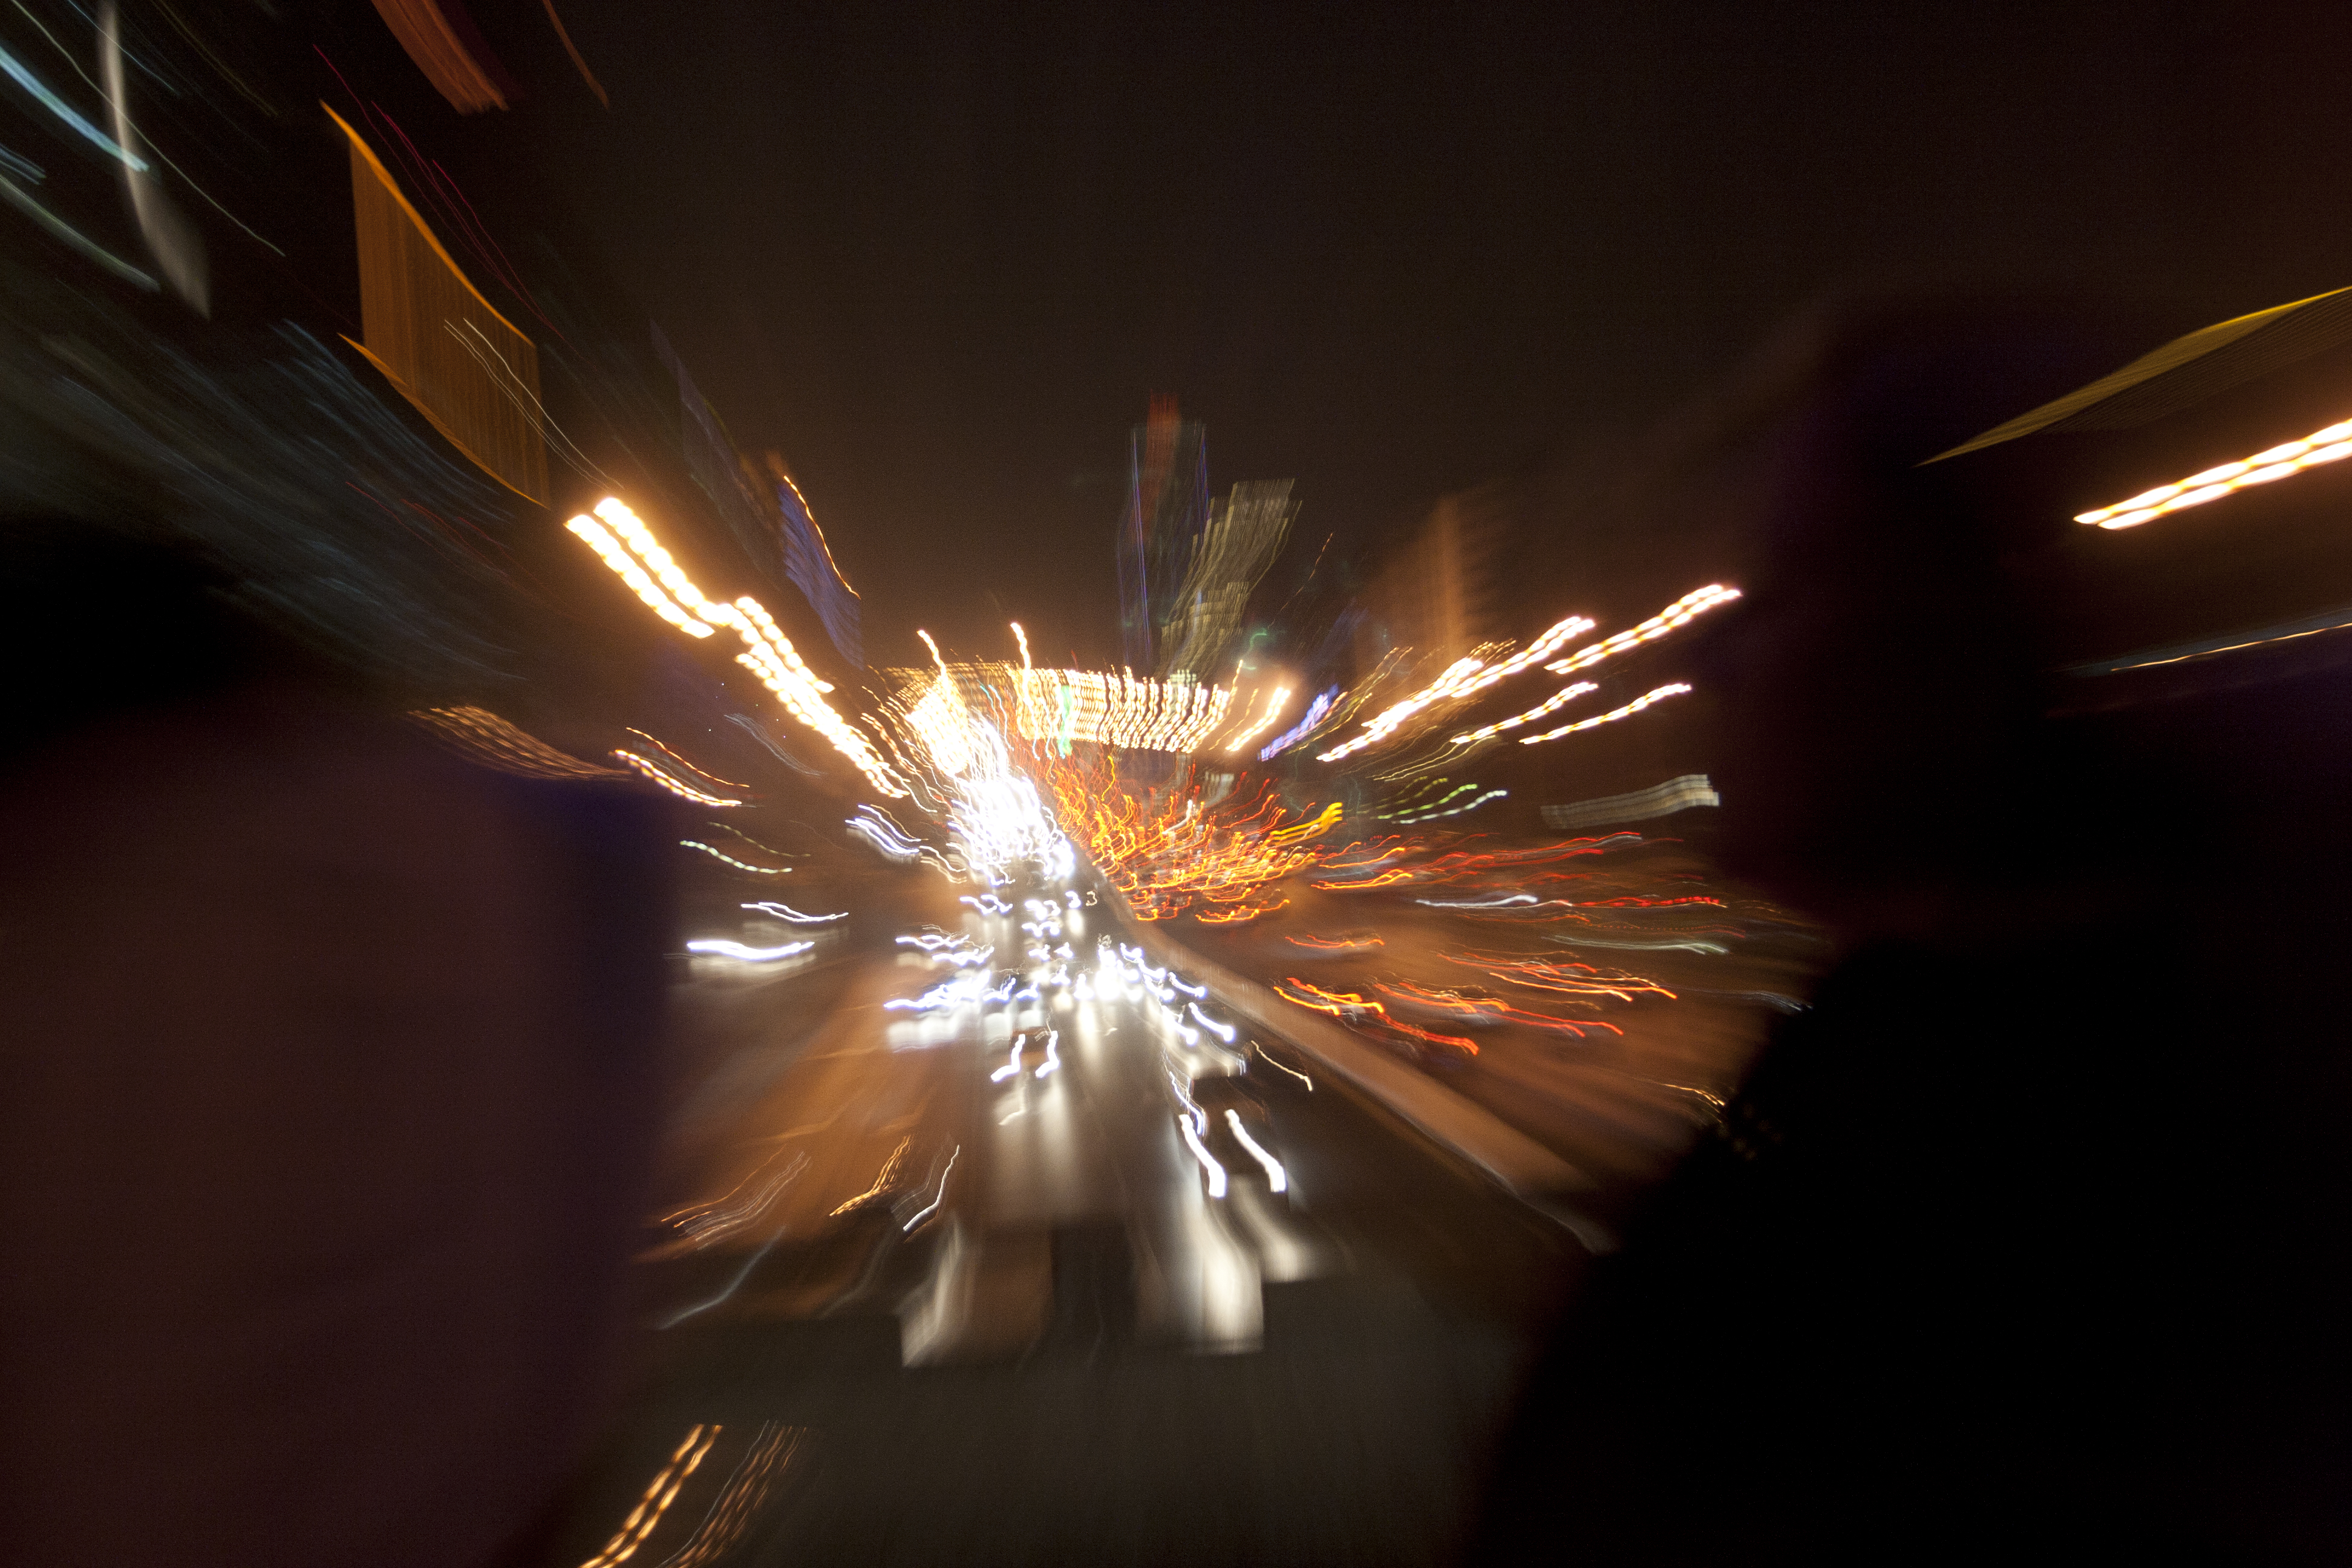
18mm, f/3.5, 1/13sec, ISO 800, March 29, 2011. Zooming during the exposure created the streaks of light coming from what was probably the third ring road in Beijing. I’ve long been interested in special effects on a camera, and this was an early attempt. I was sixteen at the time.
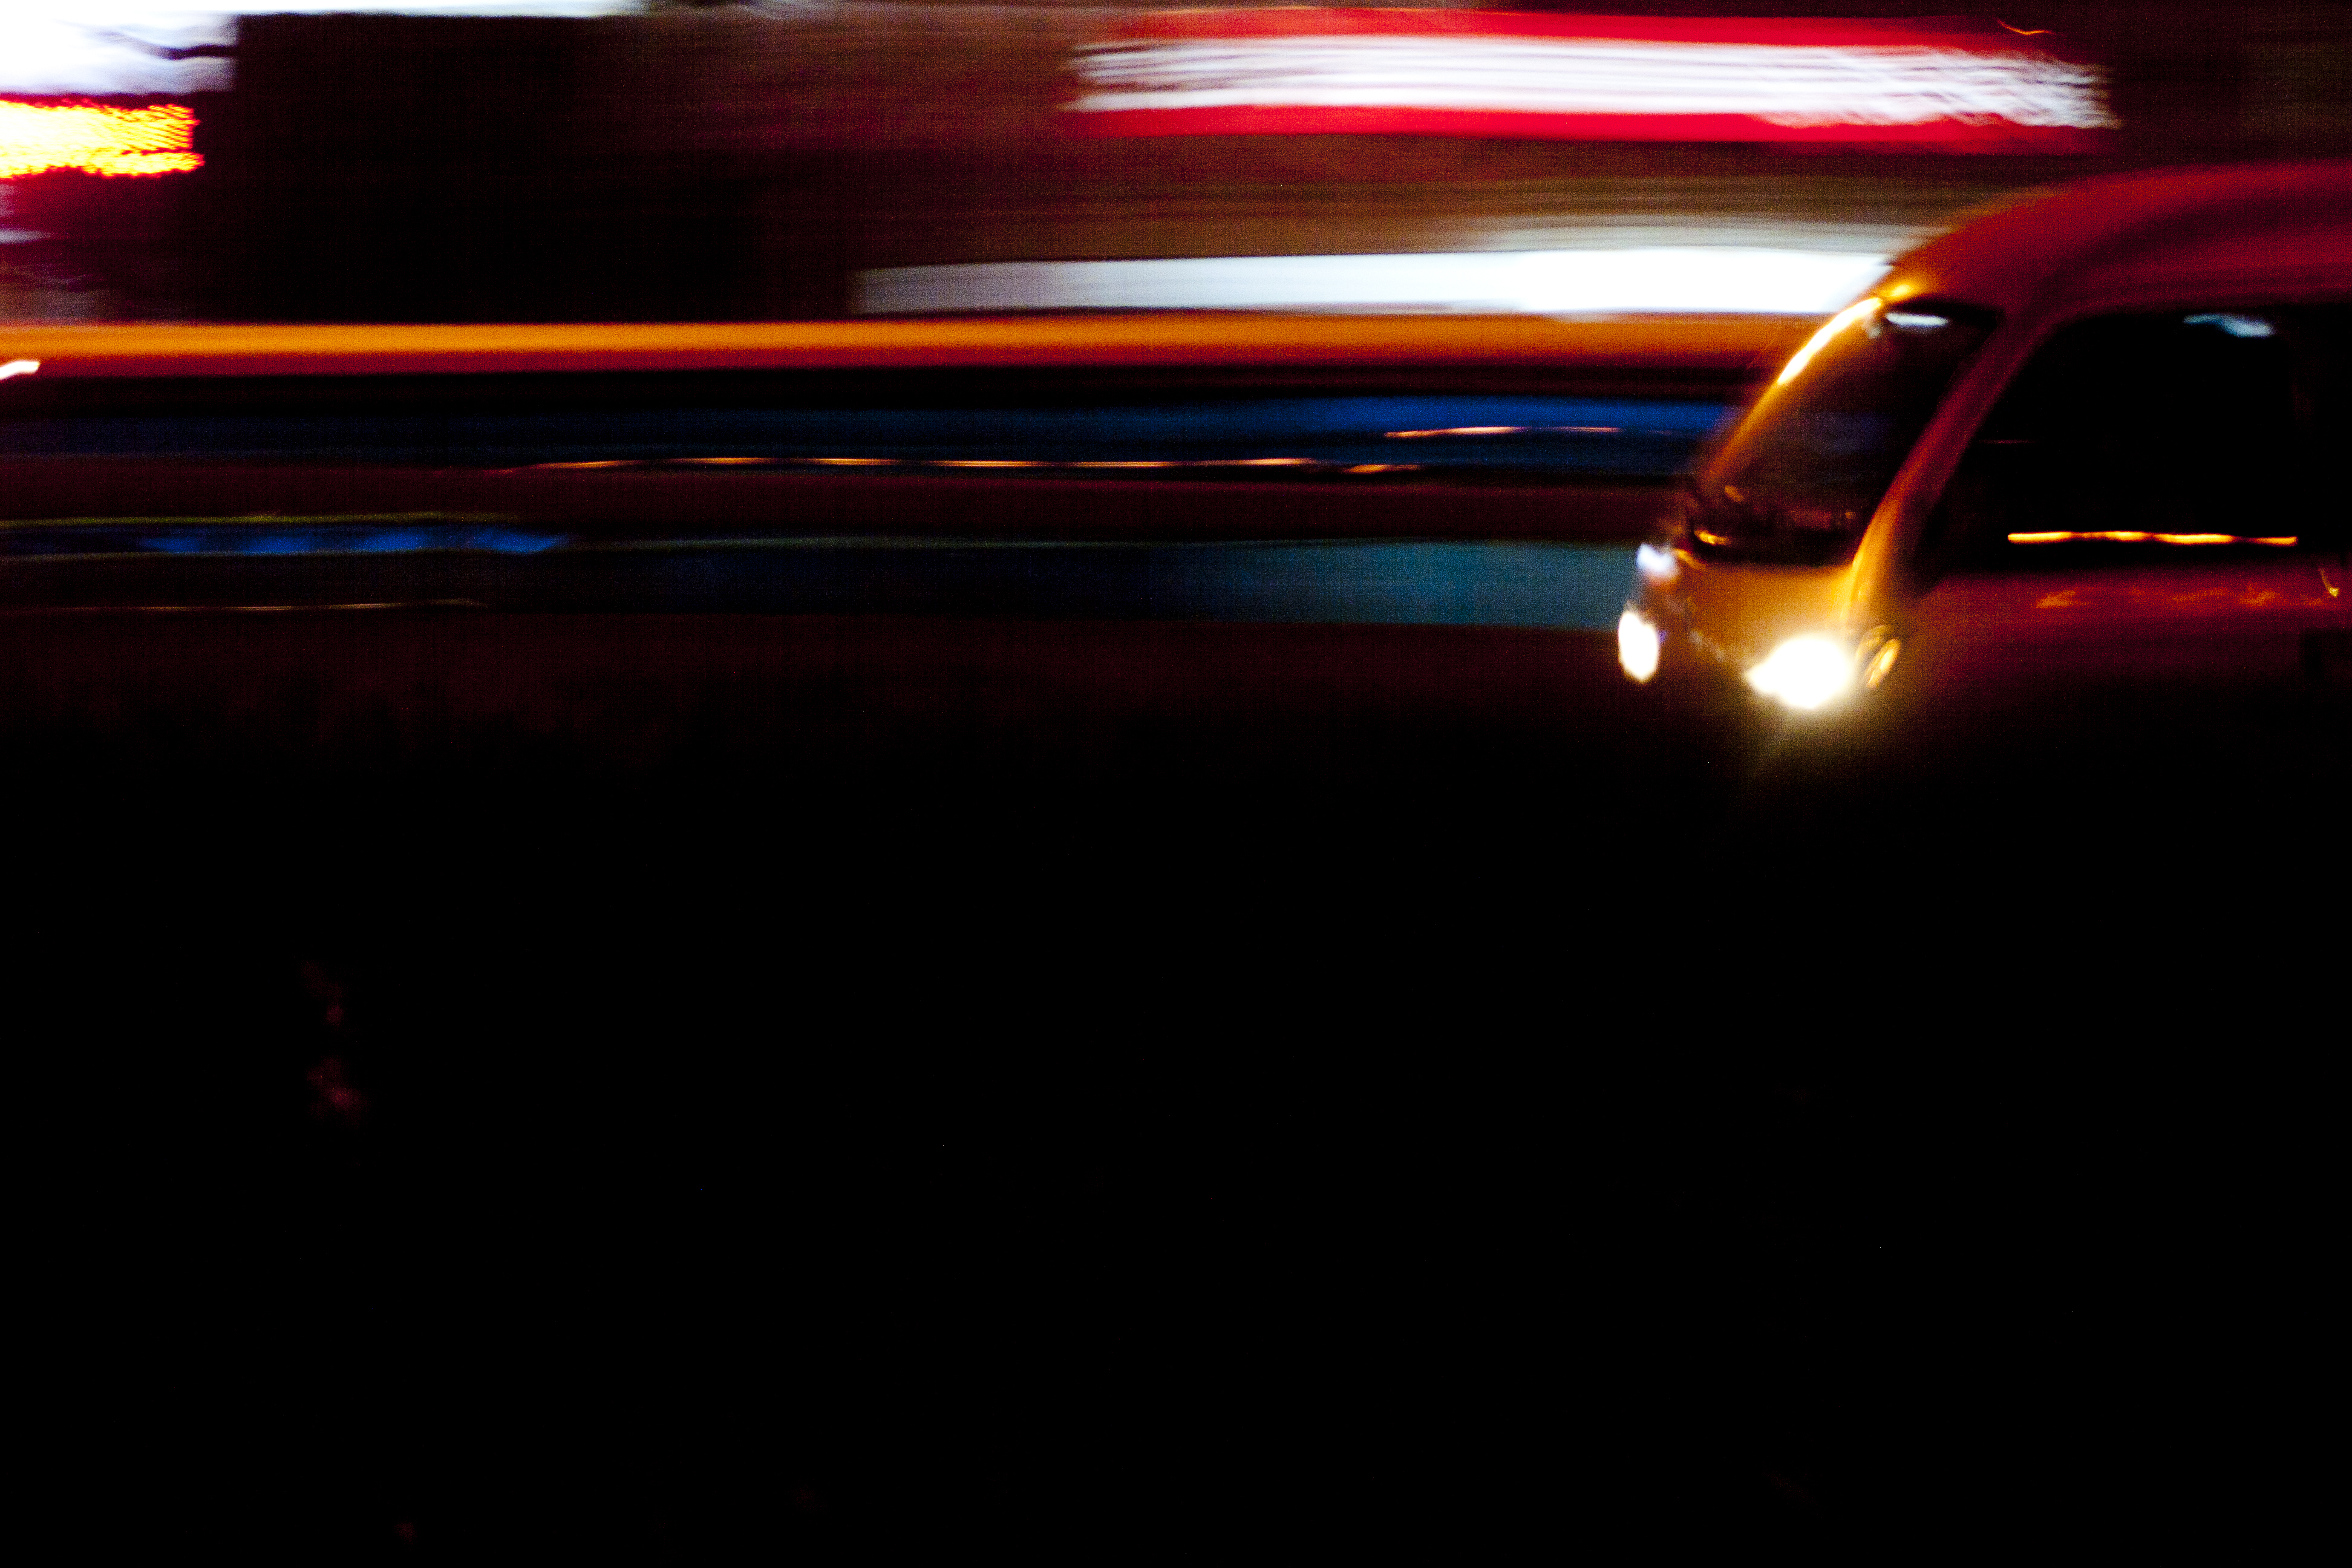
85mm, f/4, 1sec, ISO 200, March 29, 2011. In this example of panning, I followed a bus as it zoomed by our tour bus.
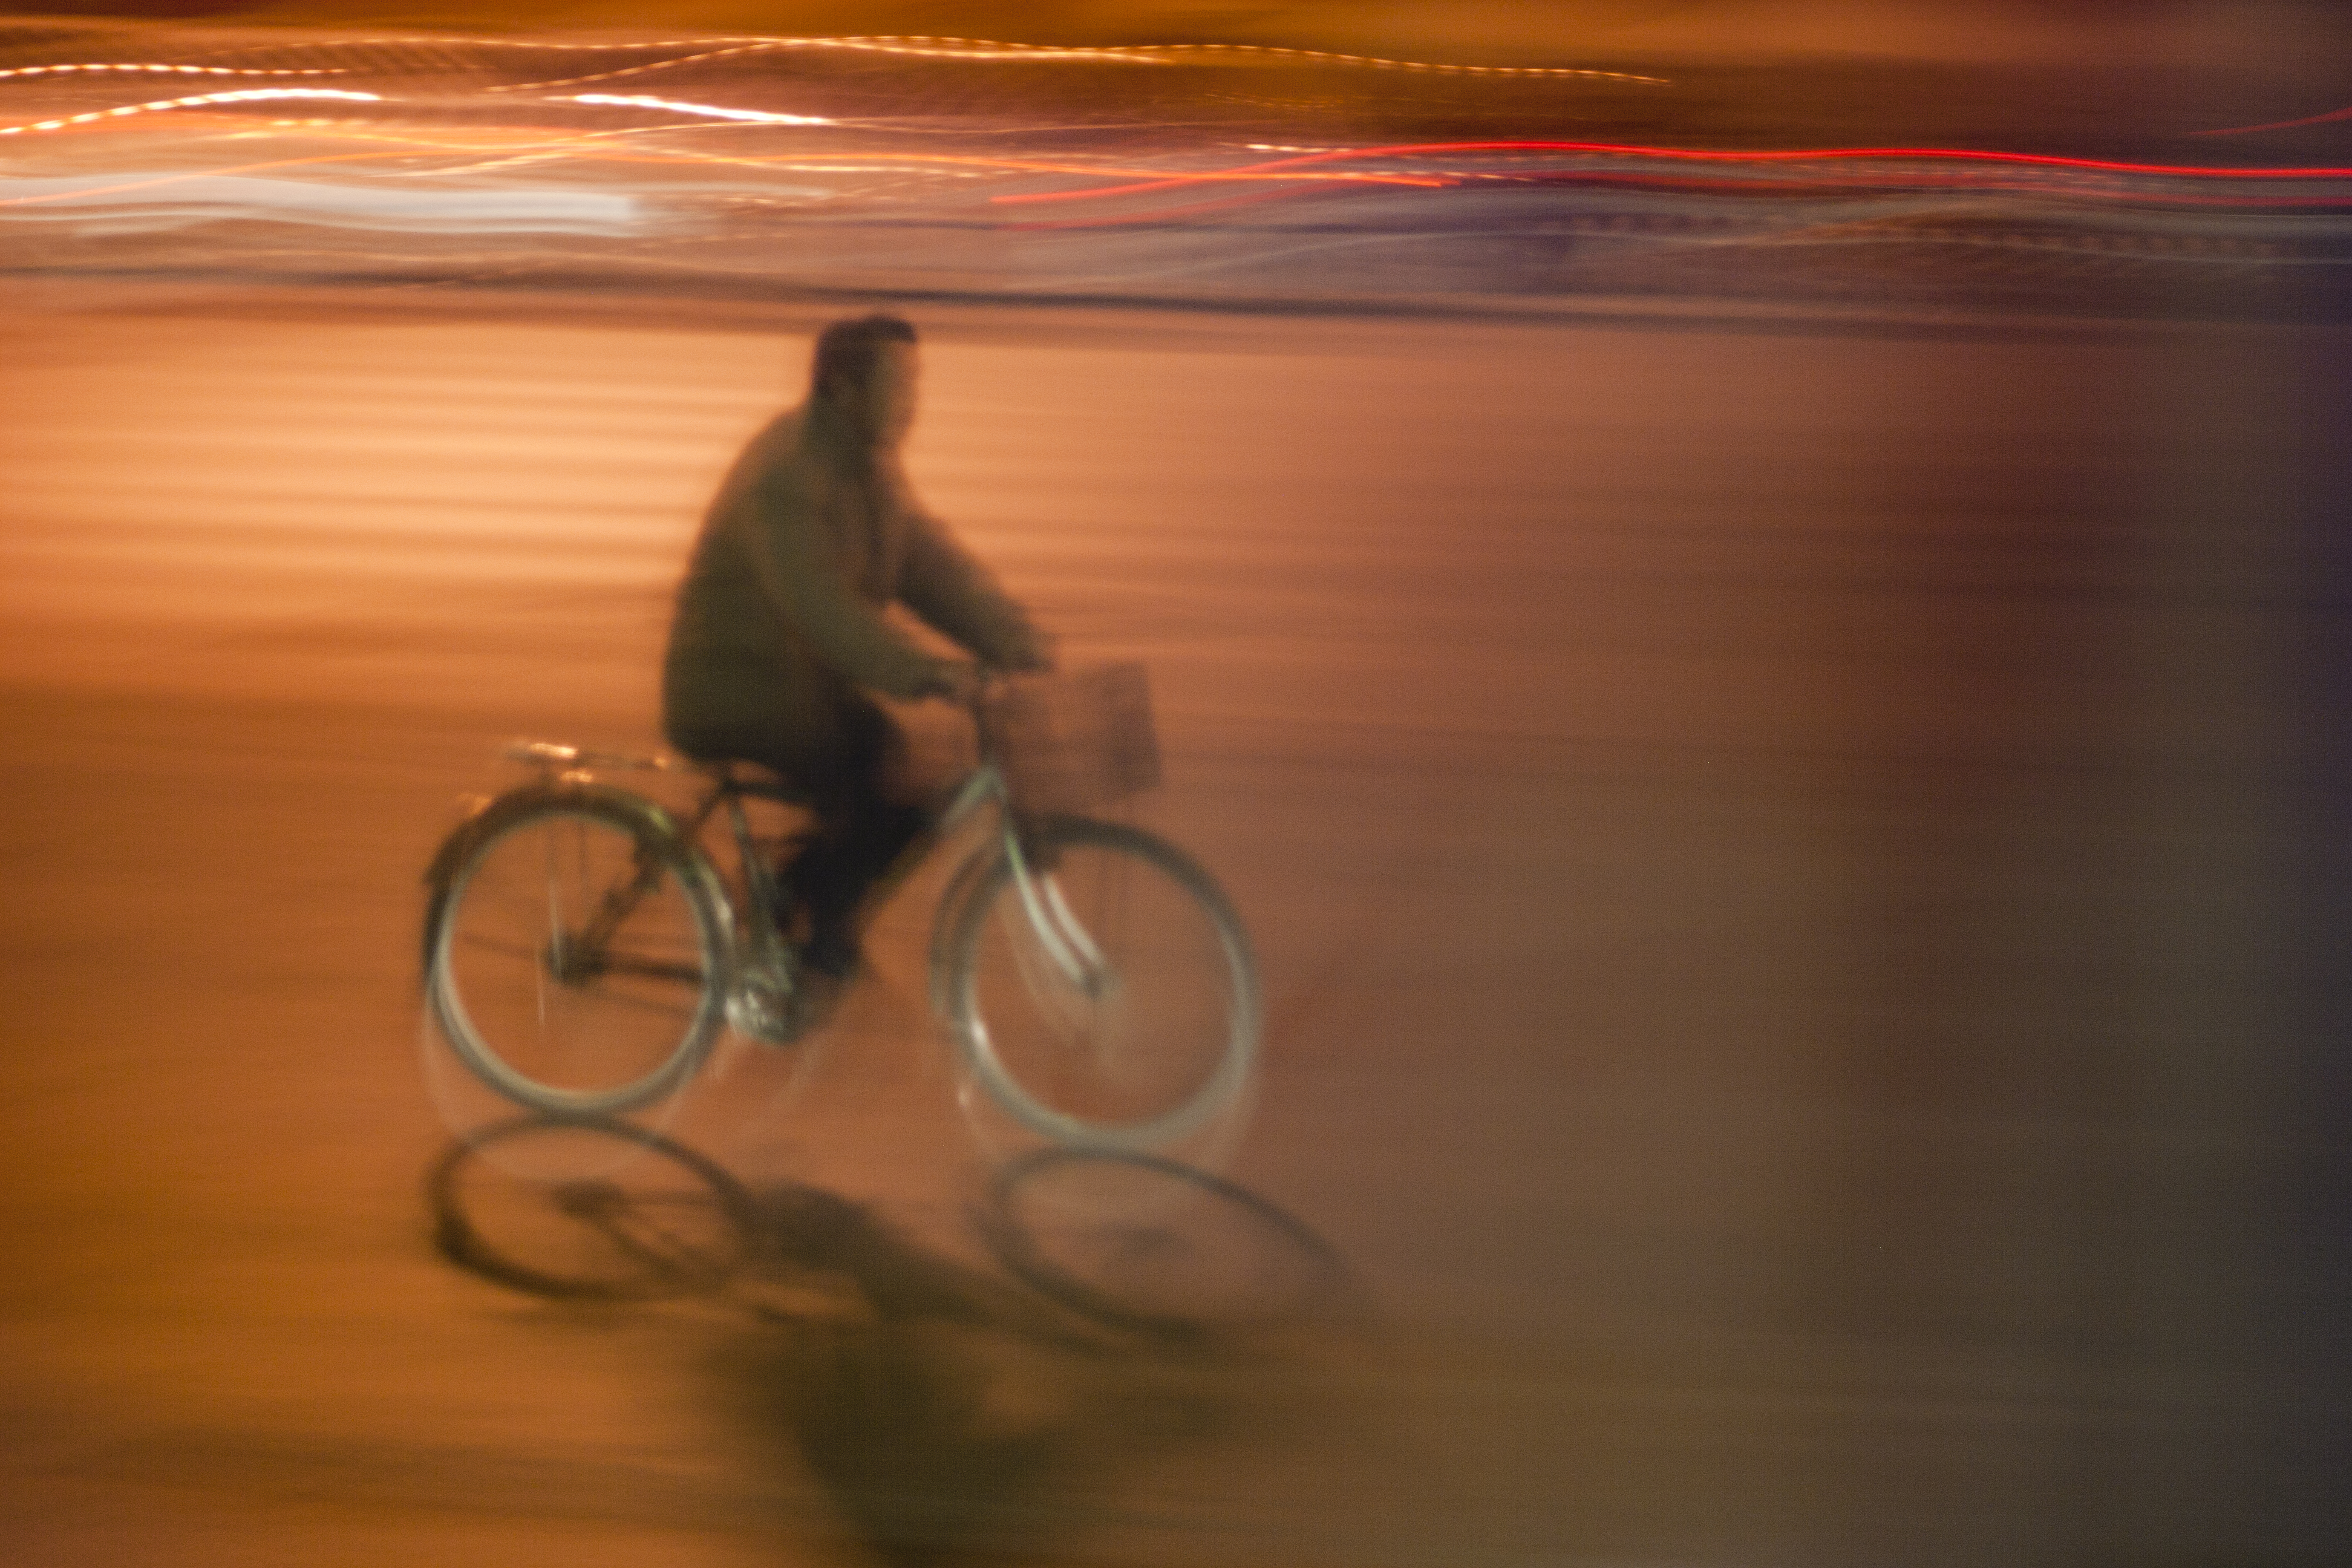
75mm, f/4, 1sec, ISO 200, March 29, 2011. In this third example, I followed the rider with the camera lens as he crossed our path.
Choosing a shutter speed
Shutter speed is the key to how motion is captured and represented in your images. If you want to freeze action in place, a high shutter speed is key. This is a common requirement for sports photography. It’s also key to capturing clear photographs of my ever-moving toddler. I try to choose at least 1/500 when I’m photographing him. This is usually easy to accomplish in sunlight, but indoors, in the morning, or in the evening, I usually have to increase the ISO to compensate for the dimmer light source. Modern cameras like the mirrorless Sony α7iii do well at managing noise at high ISO levels.
Sometimes, you may want to use motion blur creatively to heighten the sense of movement within a shot. Lower shutter speeds are the way to do so. One interesting technique is called “panning.” It involves following a moving subject with the camera during the exposure. The result is a subject that appears in focus while the rest of the image blurs from the camera movement. The sweet spot for the shutter speed depends on how fast the subject is moving and how much motion blur you want to incorporate, but it’s a fun technique to experiment with.
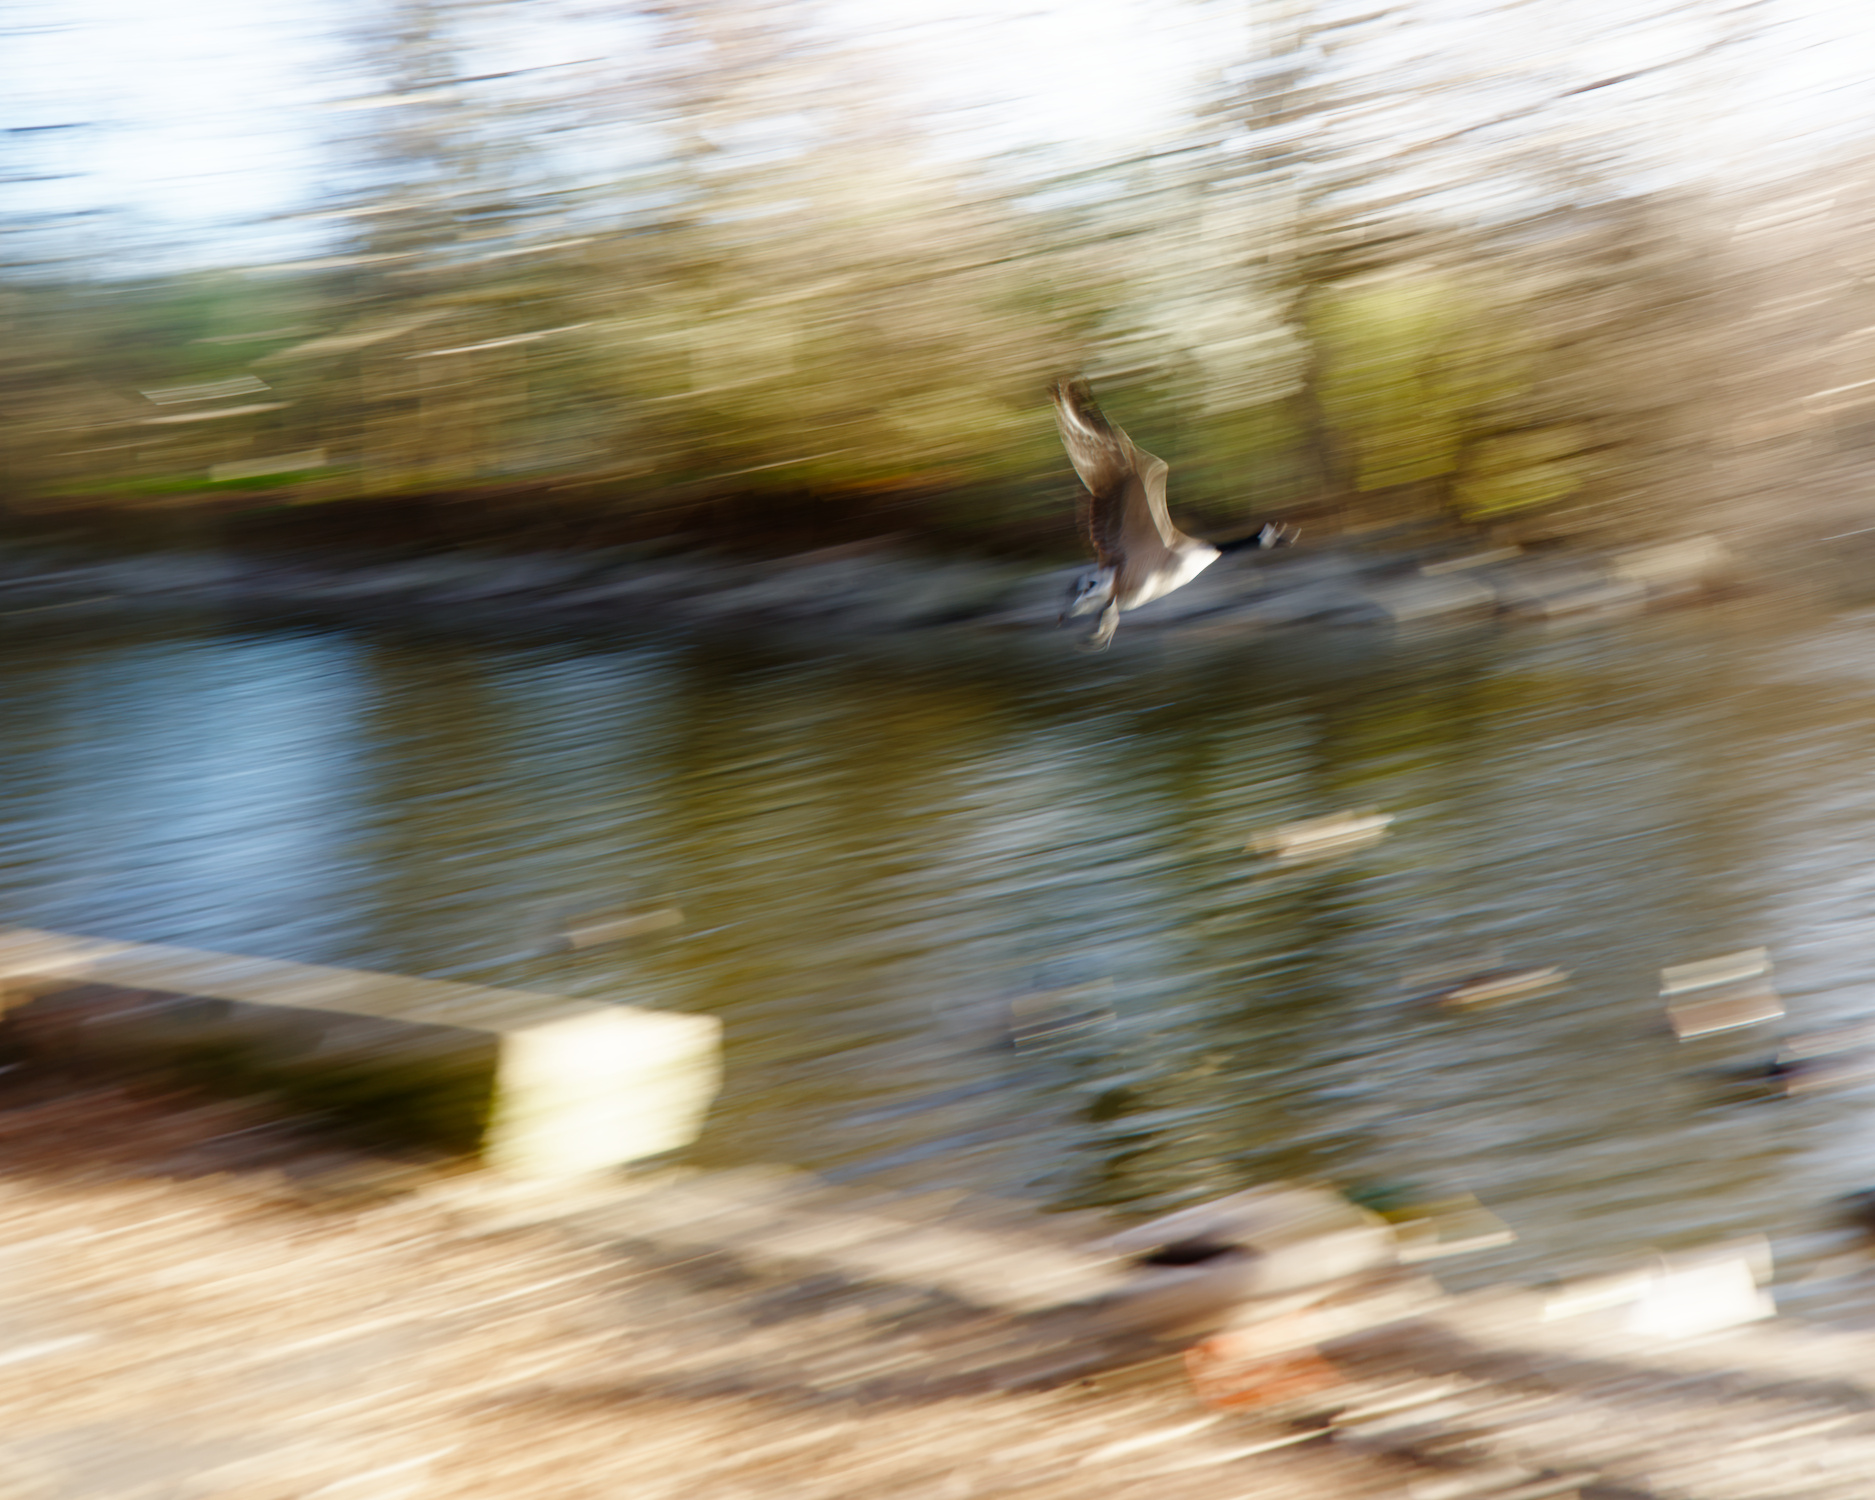
28mm, f/9, 1/25sec, ISO 80, March 20, 2026. In this much more recent example of panning, I caught a mostly clear shot of the goose in Ann Morrison Park as it flew away. When done well, panning can add a strong sense of motion to an image.
Shutter speeds one second or longer can create completely novel visual effects. For example, a long exposure can make the windy surface of a lake look like cotton or glass. Often, long exposures are necessary for night photography. In these conditions, light painting—moving a light source inside the frame during exposure—leaves unique trails of light inside the image.
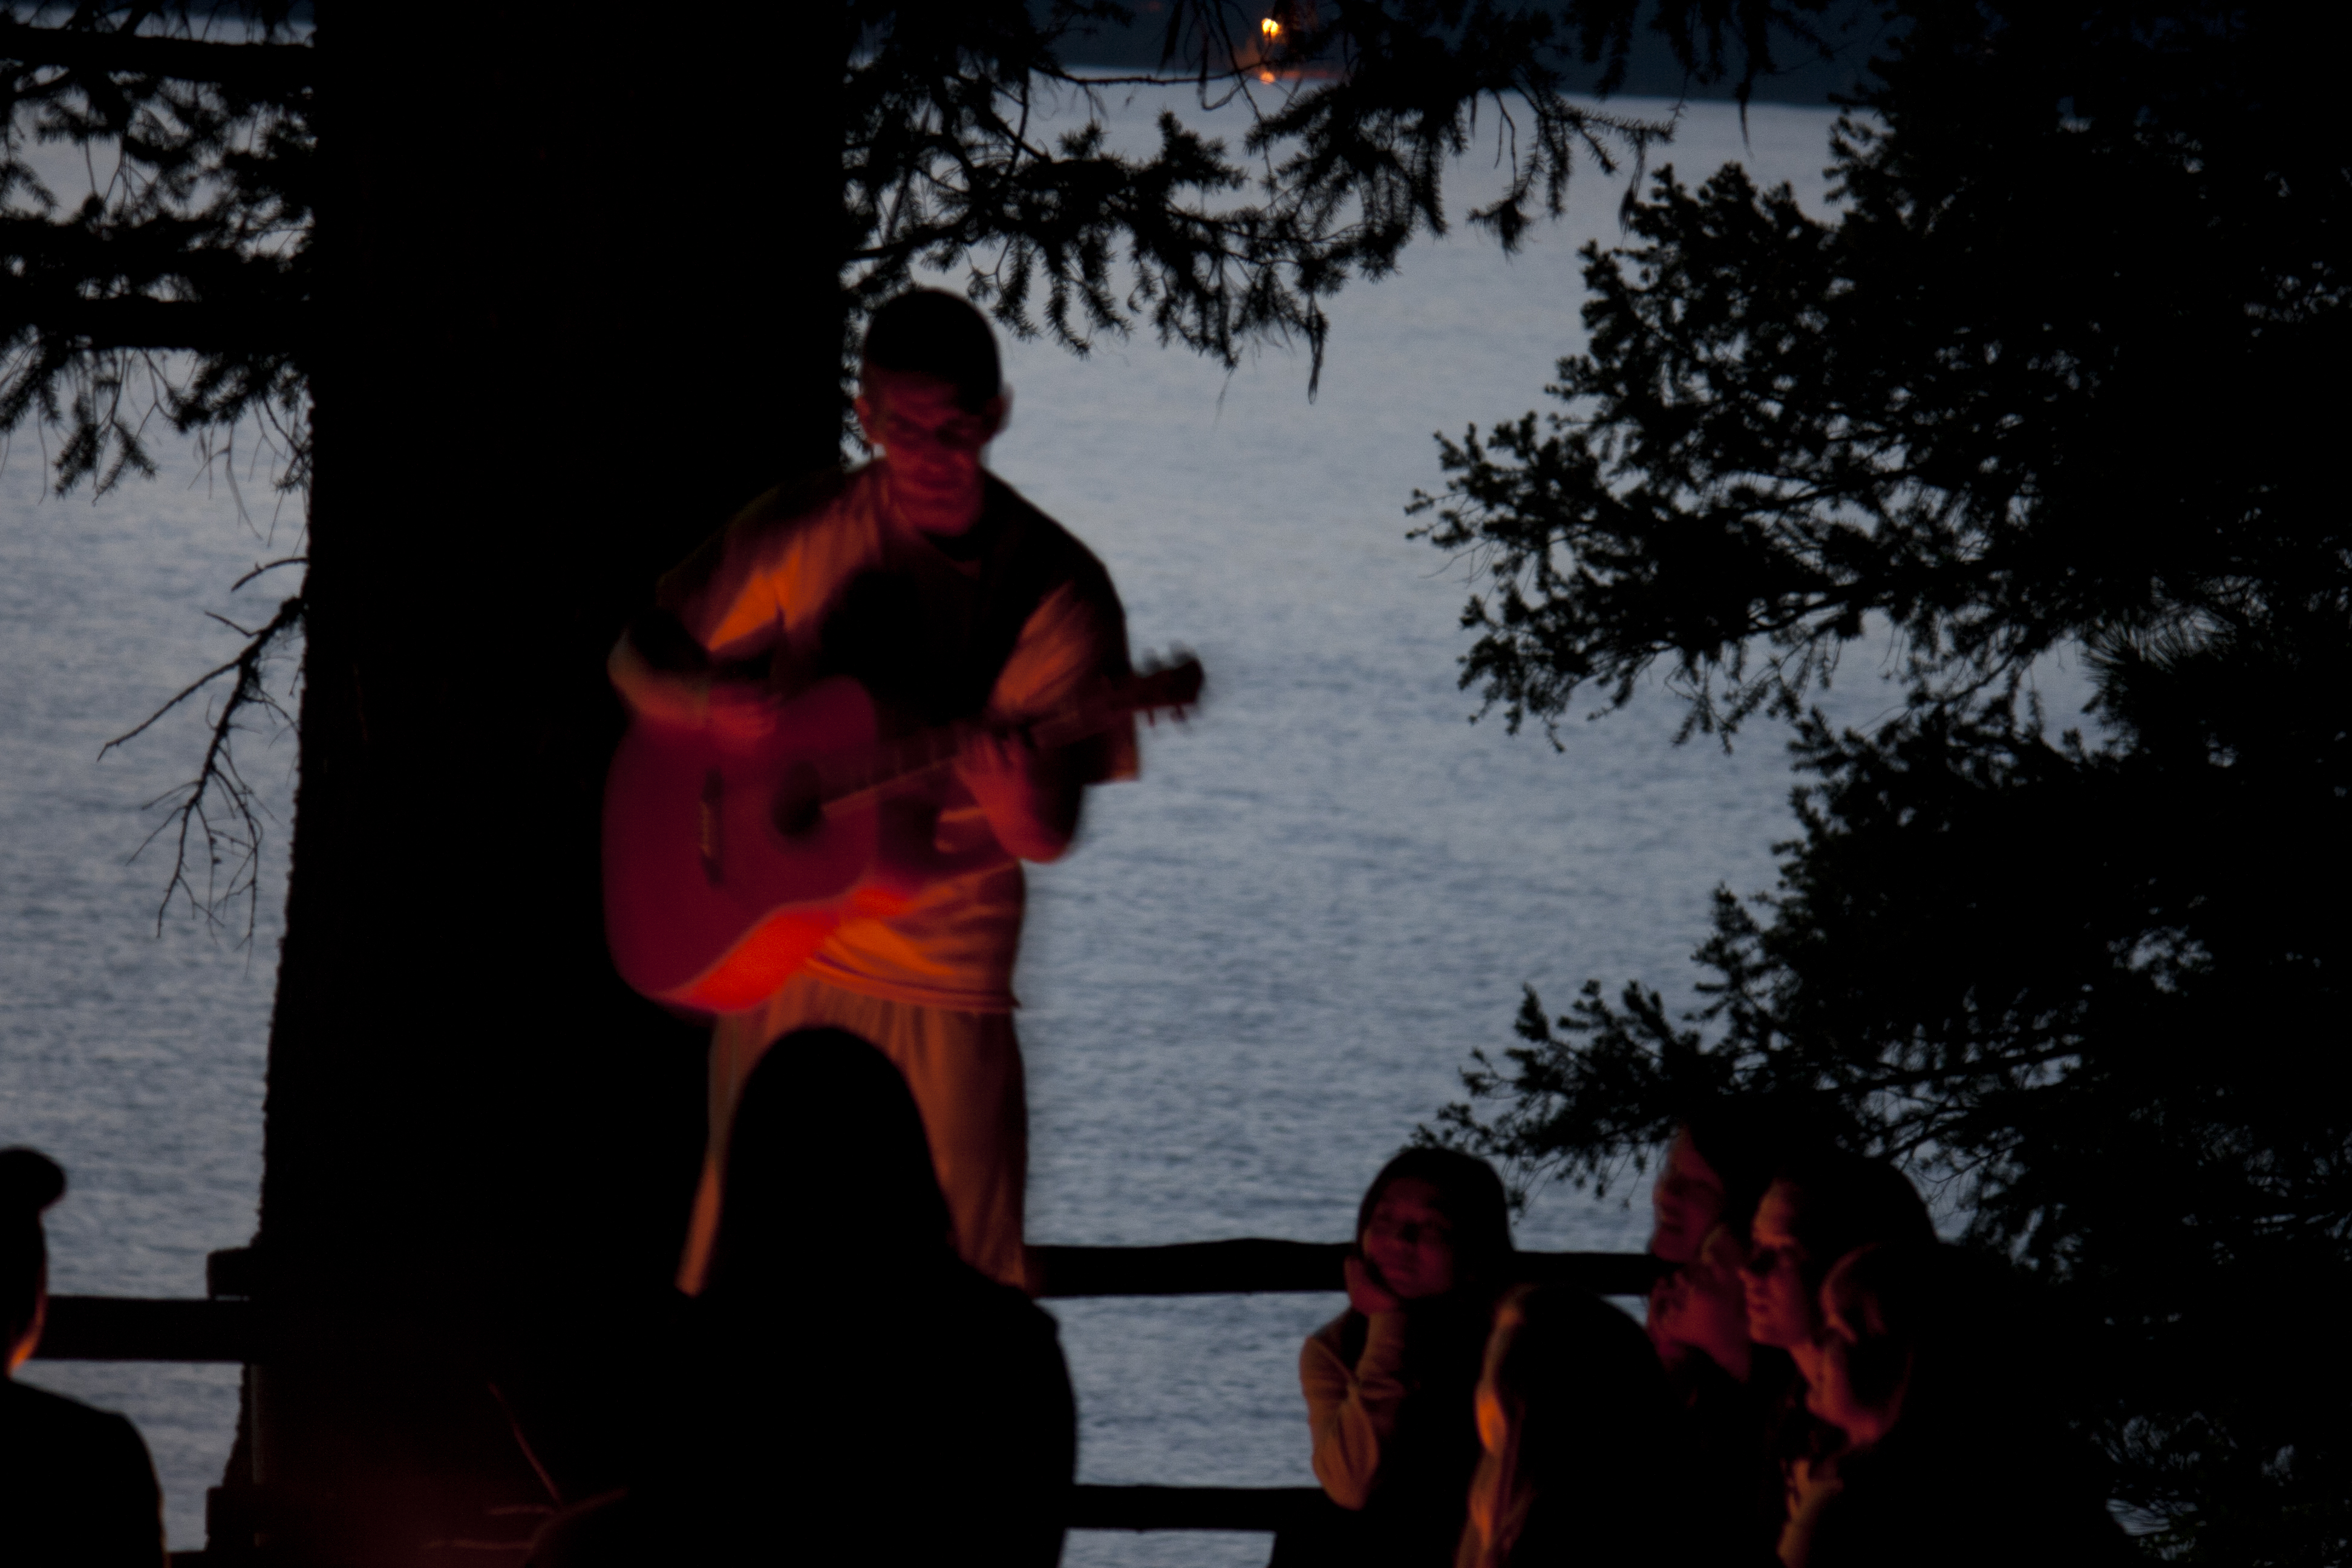
123mm, f/5, 1sec, ISO 400, August 10, 2011. At a summer camp in scenic McCall, Idaho, I took many long exposures such as this one of a camp counselor serenading camp attendees. The low light and the camera’s limited ability to control noise at higher ISO settings meant I could only take these blurrier photos. (Every image I took before 2024 was on a Canon Digital Rebel XTi—a wonderful camera. I’d still be more than happy to use it today.)
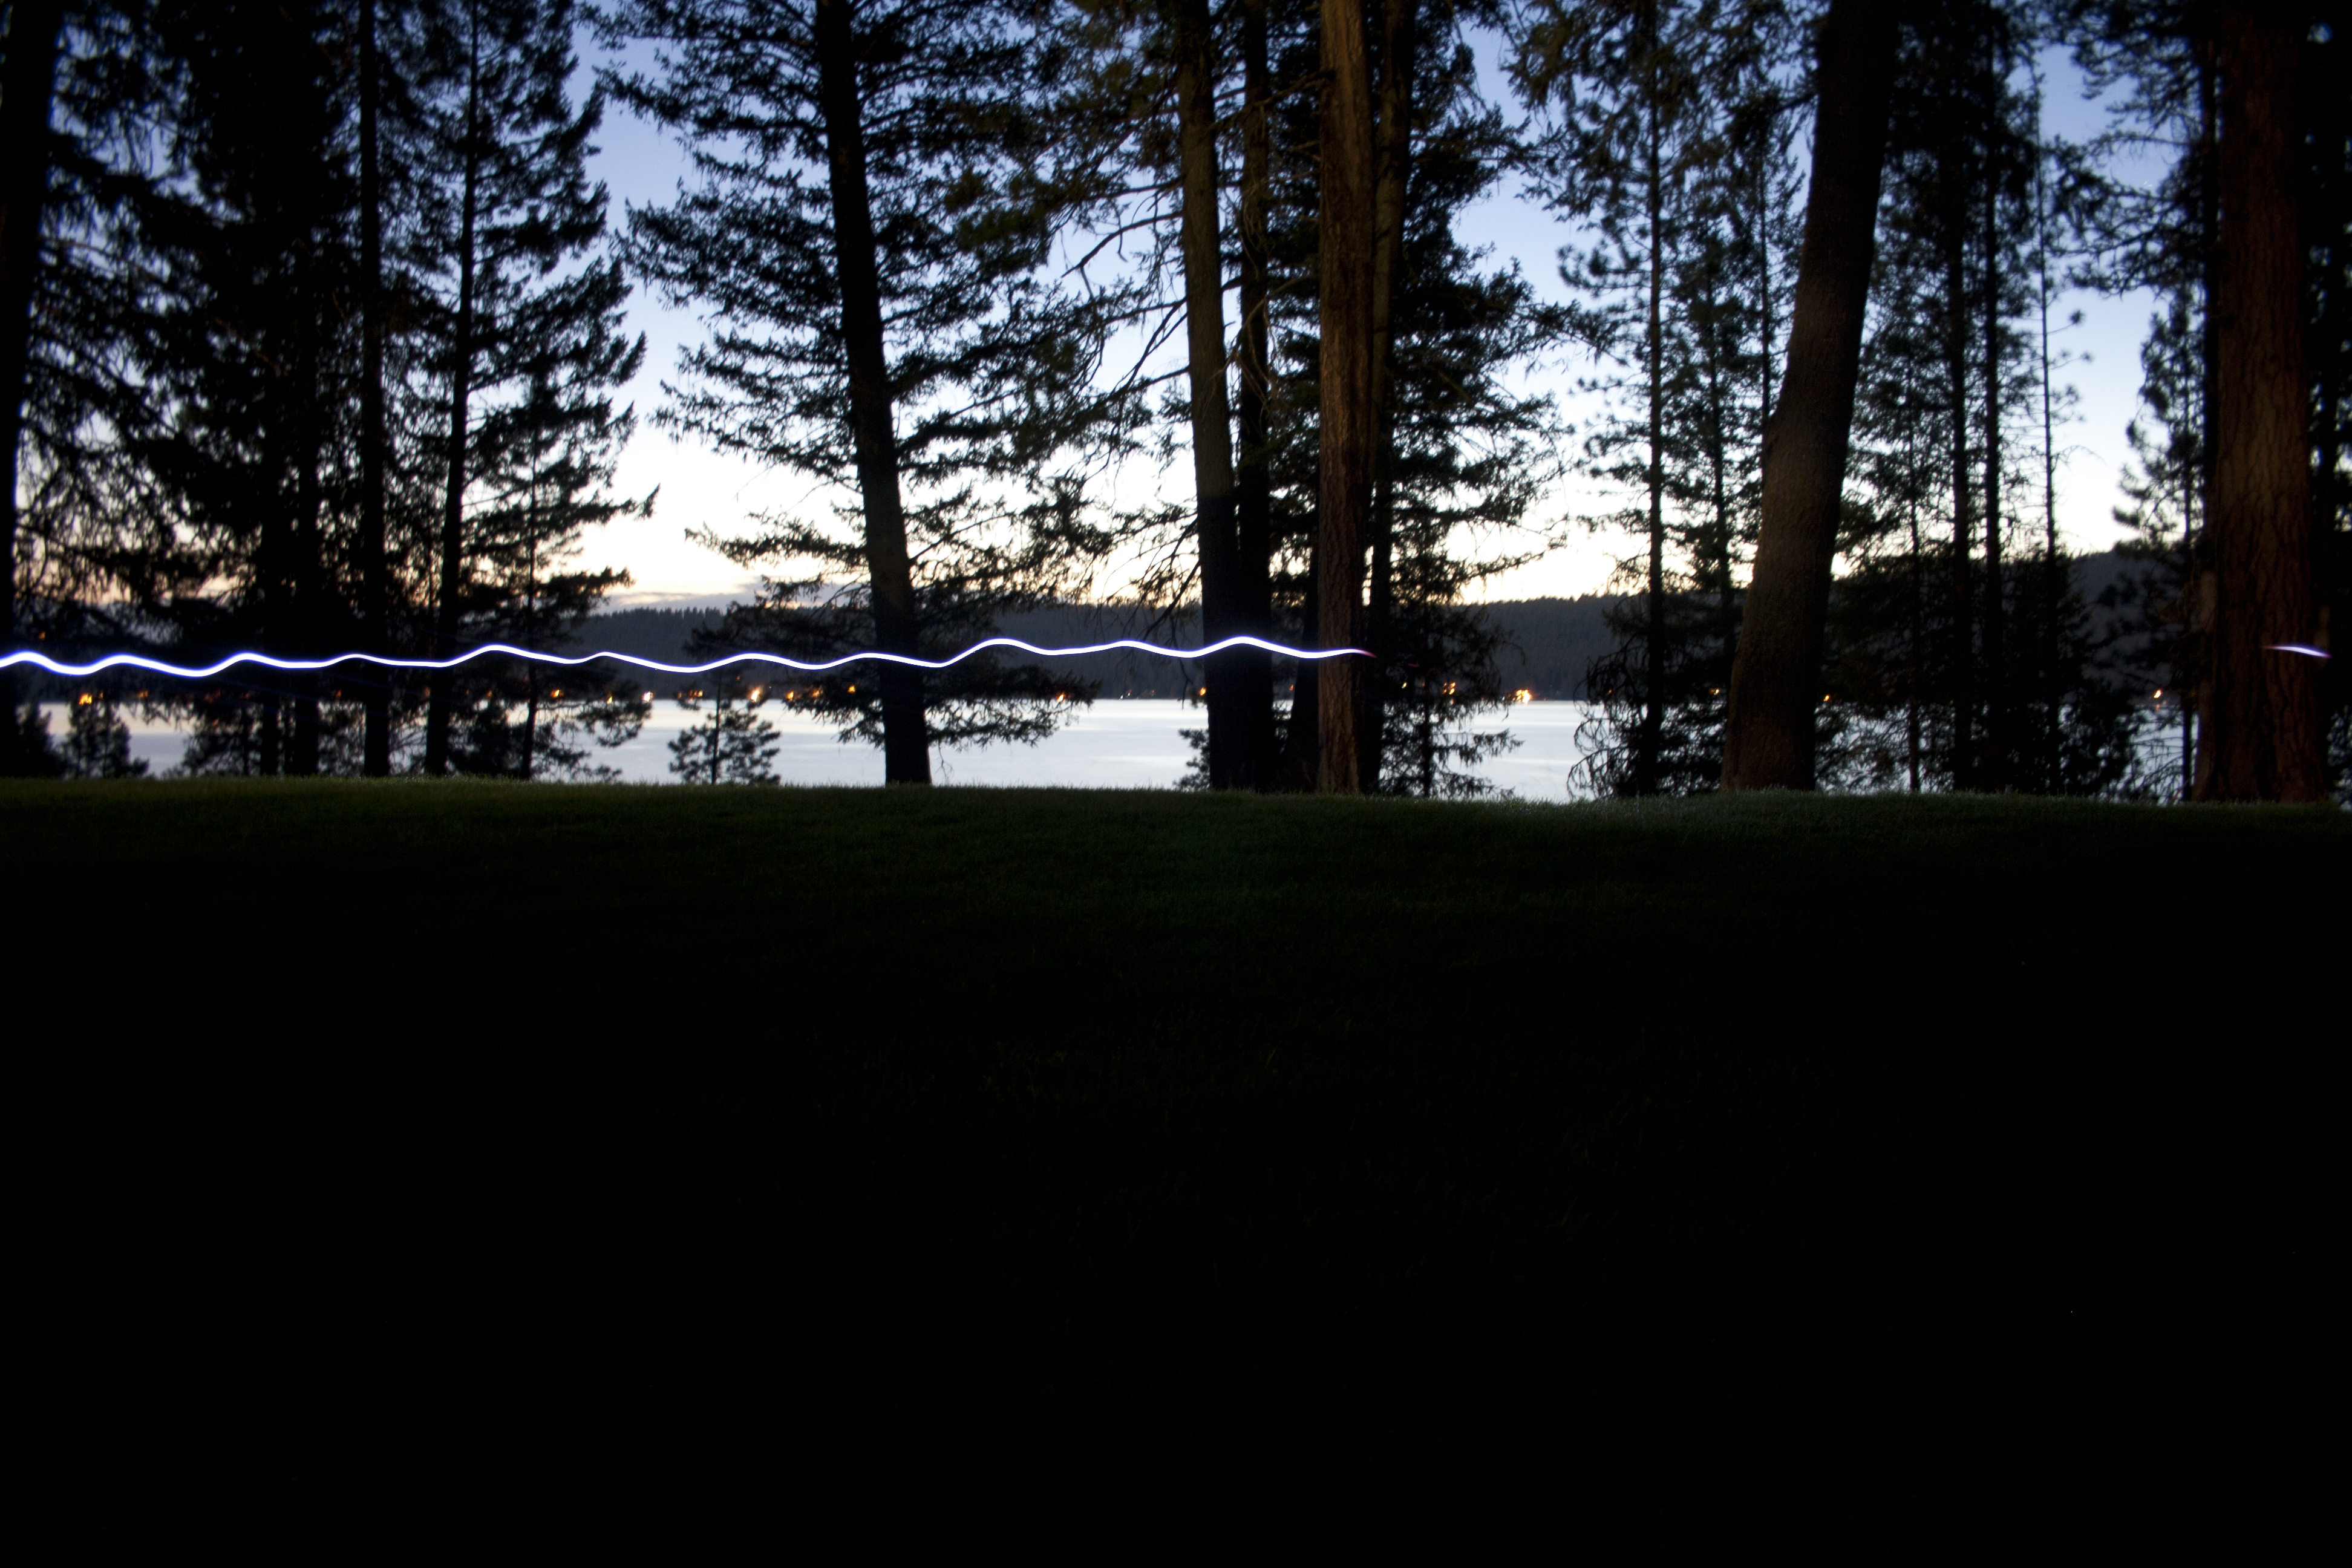
18mm, f/3.5, 98sec, ISO 200, August 9, 2011. At the same summer camp, someone carries a flashlight across the scene during a very long exposure of the lake.
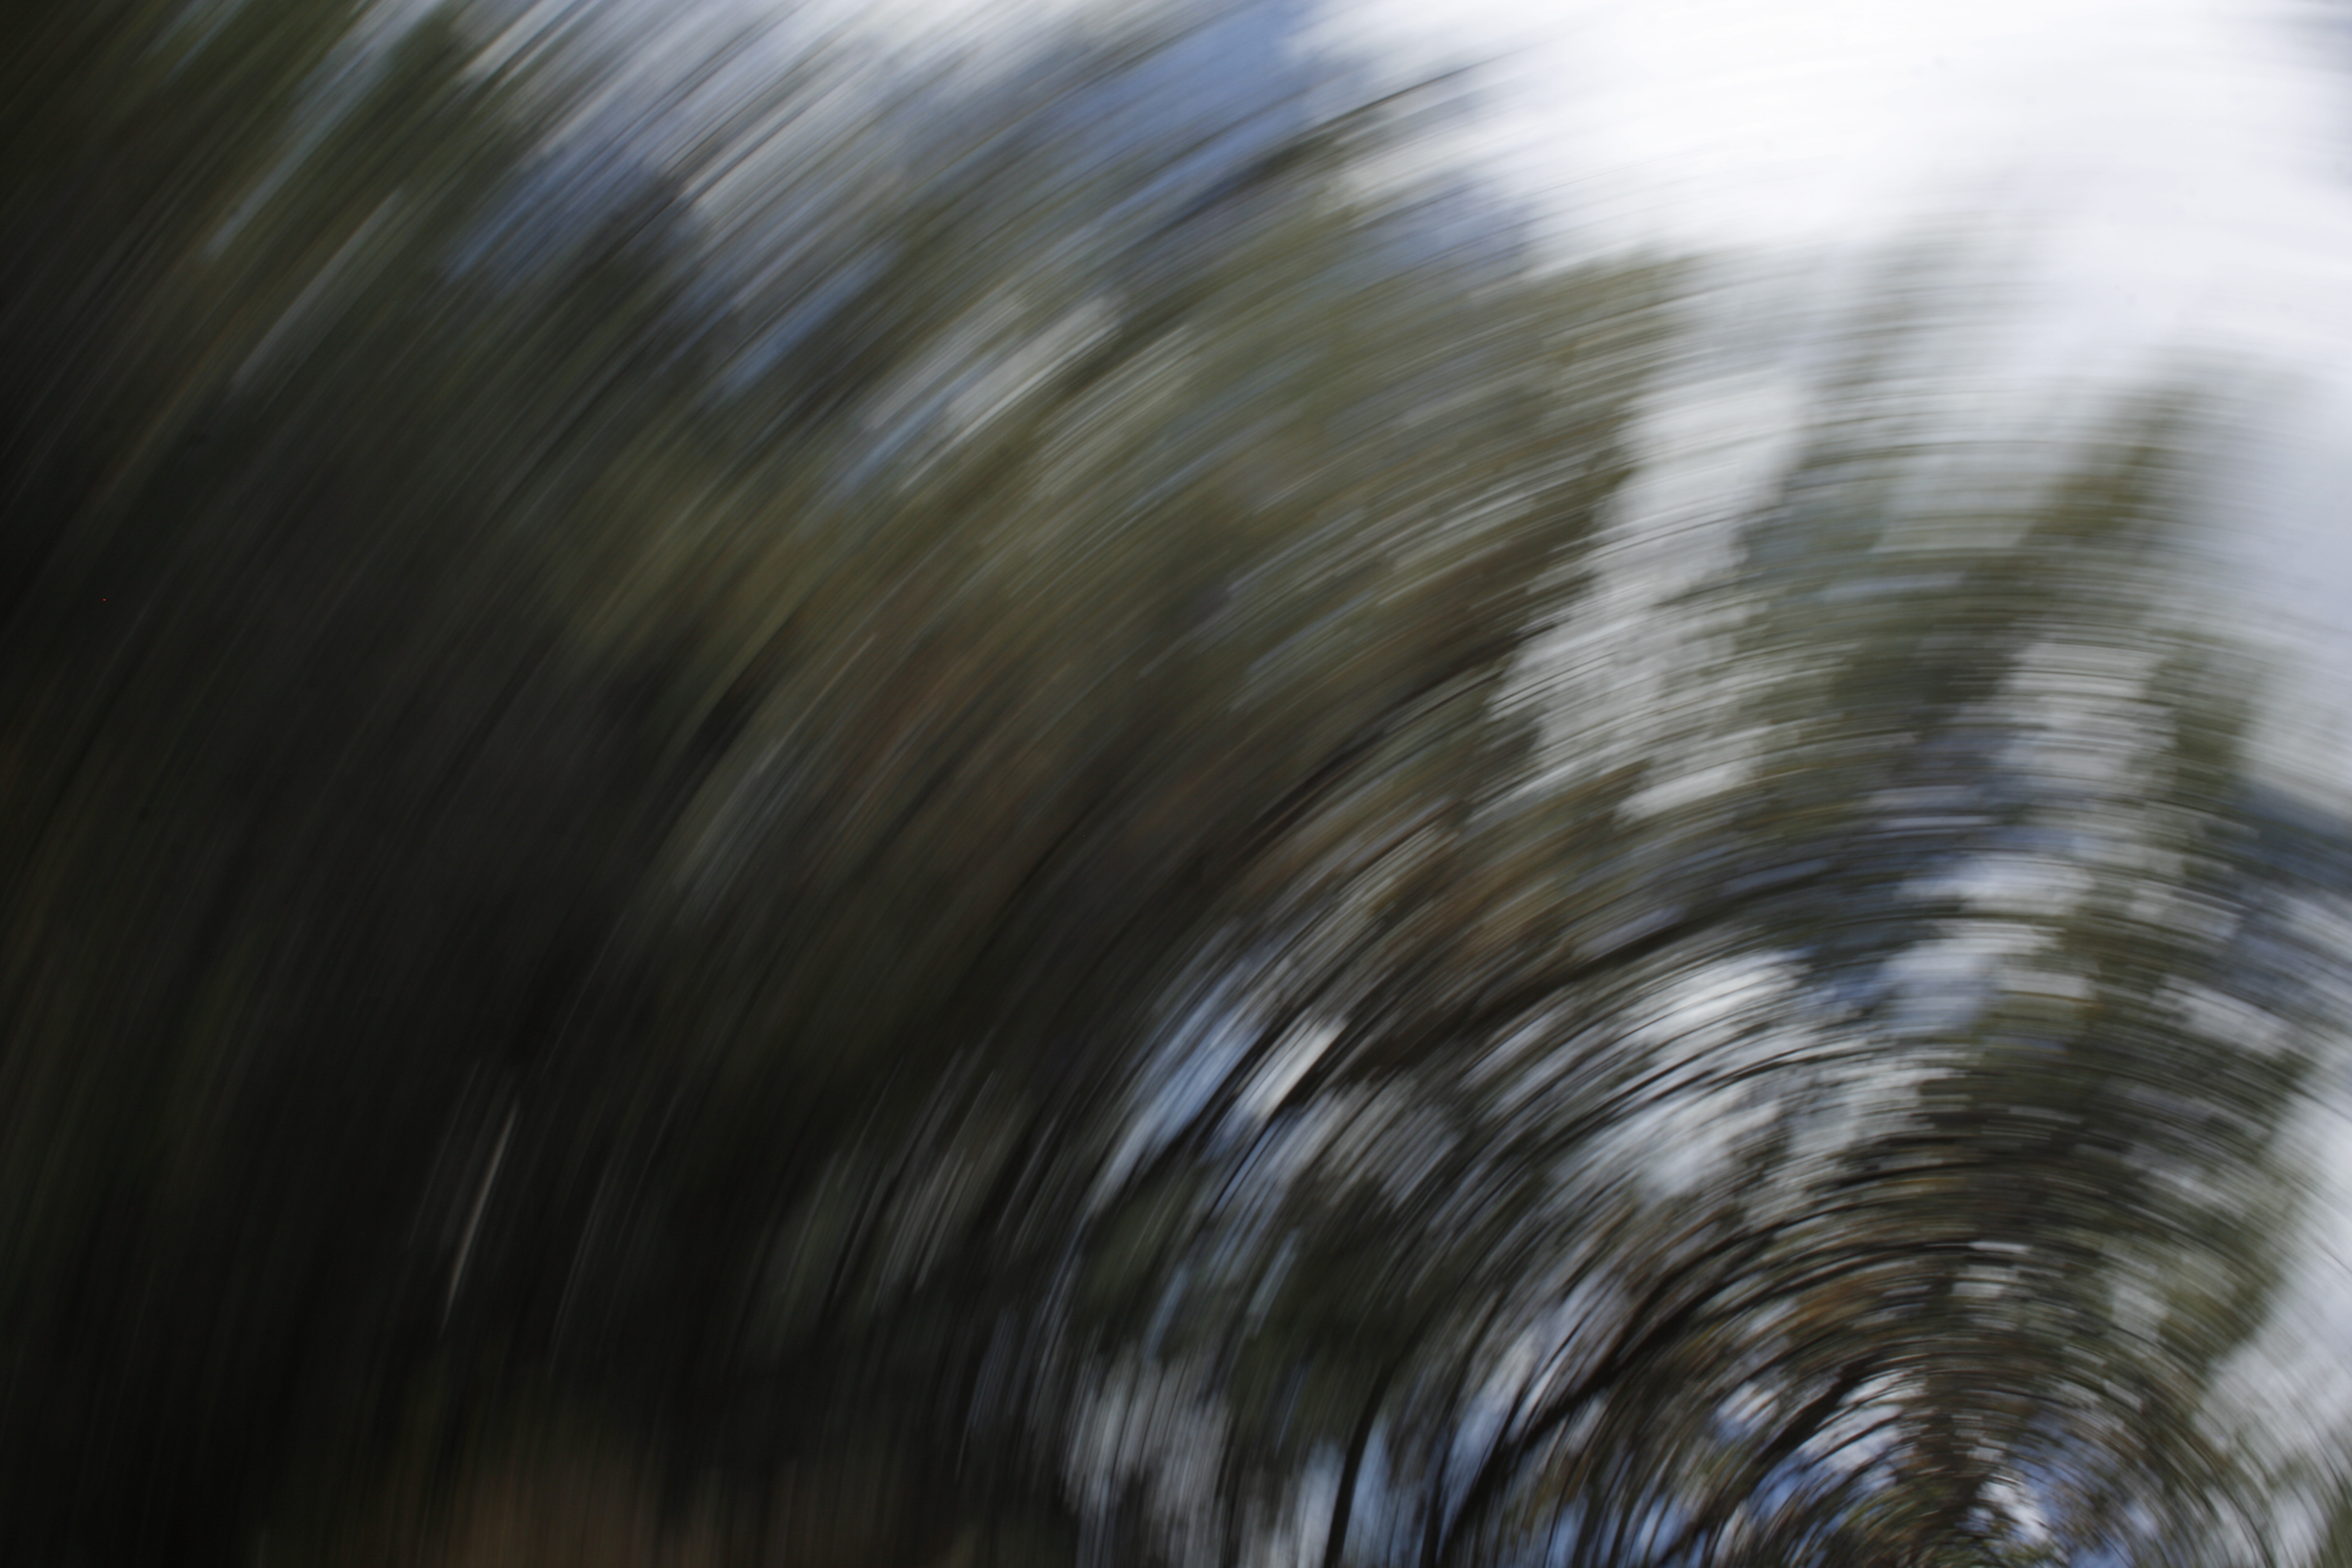
25mm, f/25, 1/50sec, ISO 100, June 21, 2015. Rotating the camera during the exposure turns the trees into a sweeping spiral. Another example of younger me doing silly things with a camera.
Controlling shutter speed on your camera
To control the shutter speed, you have several options. The most direct option is to use the shutter priority mode. This mode is labelled “S” or “Tv” (short for “time value”), depending on the manufacturer. This mode allows the user to set the desired shutter speed, while the camera automatically sets the aperture and ISO sensitivity to ensure a properly exposed image.
One pitfall of shutter priority is that you lose direct control of the aperture width, which is important for depth of field. There are two ways around that.
One way is to manually set the ISO speed. Assuming a fixed shutter speed, the aperture will usually open up when the ISO sensitivity goes down and vice versa. This depends on the scene and the camera’s internal logic. But generally speaking, if you want more background blur, you can try reducing the ISO to achieve the affect when using shutter priority.
Another way is to adjust the focal length. A longer focal length decreases depth of field (background gets blurrier), while a shorter one brings more of the image into focus. (You can play around with depth of field in the simple calculator I built.)
Personally, I’m usually more concerned about the depth of field than the amount of motion blur. I normally just want the image to be crisp without any motion blur or camera shake, so I use aperture priority mode and adjust the ISO until the shutter speed is fast enough to freeze the movement of my subject.
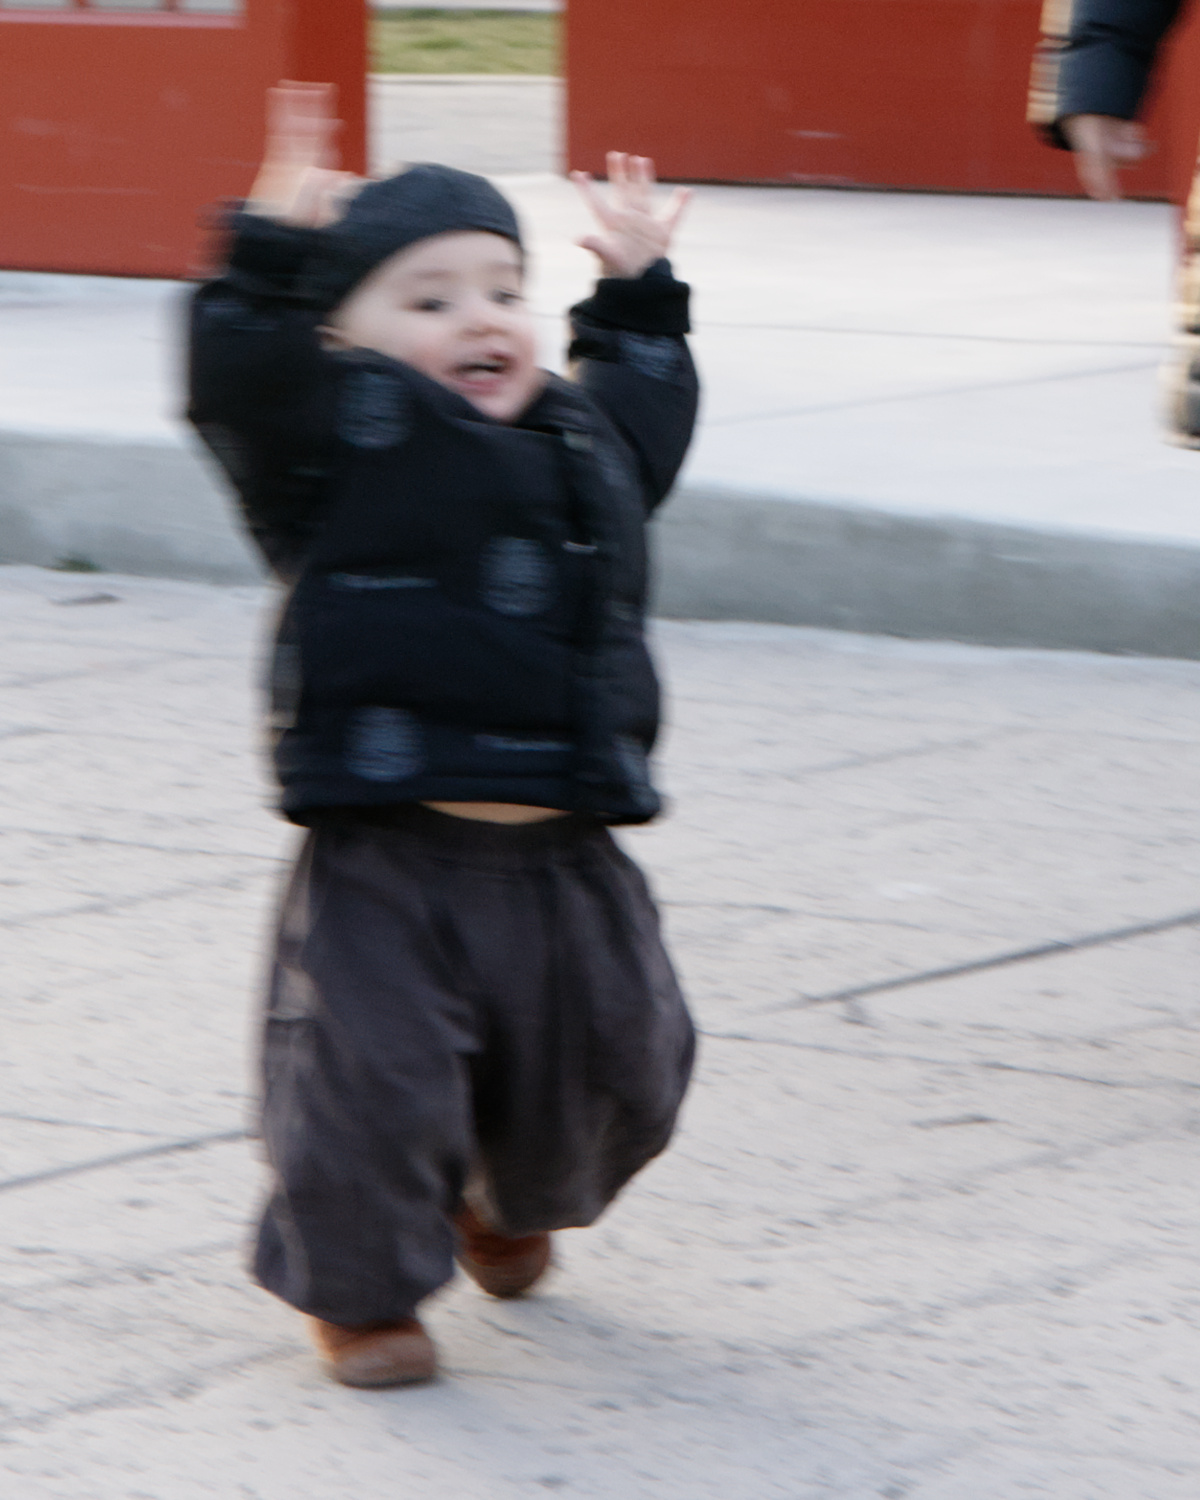
51mm, f/9, 1/60sec, ISO 250, March 3, 2026. The shutter speed is too slow to freeze my son’s movement, leaving him a blur up close. This is one example of a shot that looked fine on the camera’s display but didn’t hold up to closer inspection.
When taking pictures of my kid, for example, I’ve got so many pictures that I thought were sharp enough at the time, only to find them disappointingly blurry when I look at them on my monitor. That’s why I’ve started paying close attention to the shutter speed in my recent photos. I keep my camera on aperture priority as usual, but adjust the ISO until the shutter speed reaches at least 1/200 or higher, depending on how rambunctious my kid’s feeling at the time. I’ve already started to see a larger proportion of satisfyingly sharp images than before.
For me, this concept is really a step back to basics. It’s important to have a good grasp on the technical foundations to enable artistic choices. Going from “just take a lot of pictures” to “be more intentional with your technical decisions” takes a lot of energy and focus, but ultimately yields a better result.